

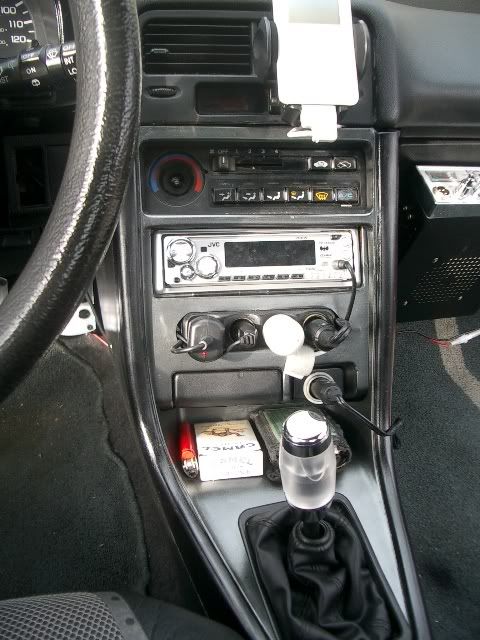
That's it installed. Where are the wires you ask? Ah, that was the point of the project. It's still in progress, Bill has to come over and rewire the four adapters directly into the fusebox.
So what started out as a project has become a lot more complex. Original idea: hide the wires. Sweet, simple and easy. Right? Wrong. Wes had the idea to fiberglass a cover for it, which meant that all the wires would have to go through the back instead of sides as planned. No problem, I'll just cut off the back.
Since we were fiberglassing it, that meant that we needed to sand it down and repaint it. Sure it would've been easy to match the paint (flat black) and cover it. However, I made this complex by wanting to sand down everything and repaint everything (glossy black and gunmetal gray). So with redoing the center console I had to repaint the ebrake thingie too
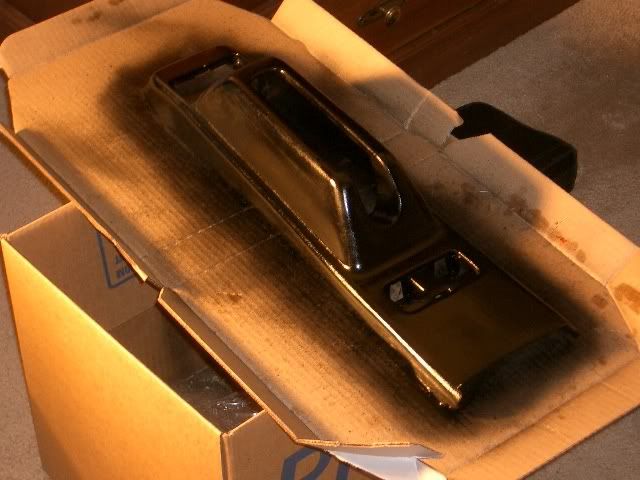
The picture was taken in progress. After the first coat of paint. Yeah, that's a pizza box. Saving the environment!
OK, so back to the project. Fiberglass phase complete. Wes sanded it down, but there were still some indentions so we filled them with bondo and sanded it down. It was smooth. Meanwhile, I was sanding down the texture on the center console plastic frame and the ebrake thingie. Started with 100 grit sandpaper, working all the way up to 2000 grit. Lots of fun, sanding down that much surface area again and again and again and again... (you get the idea right?)
With the sanding complete, the painting begins. A coat of primer, wet sanding with 2000 grit, let dry, paint black, let dry, and paint black again. The center console is gunmetal but the trim is black. So to paint it two tone I had to tape it up. Now, in the back of my head, as I'm applying the tape to cover up the area I don't want painted I think to myself wouldn't it just be hilarious if the blue painter's tape I'm using peeled off the paint? Thirty minutes later, when I remove the tape. Guess what? The tape took off the paint. I had to re-cover painted areas and repaint.
Once Wes was done with the console I took a look at it. With the back cut out, the adapter would fall out (apparently the back kept it in place...) so the solution was to drill screws in to hold it in place. Good idea right? We thought so.
So all of this took four days to complete, working after our regular jobs until about midnight. So on Friday I took it upon myself to install all of this. The plugs had to go through first. I then had to run the wires to wherever they were going. Putting in the adapter was third in the order of things. Secure adapter with screws, oh, did I mention that the screws were on top right under the cd player? Yeah. So now I get to put the cd player in place, secure it with the little hooks, and plug it in. Now comes to fun part of shoving the whole unit into place, because all of the wires are back there taking up space that the car doesn't have. Grr. Holding console with one hand, put screws in to hold it.
Ah yes, just the plastic frame left. Oh wait, all of the sanding warped it! I gotta bend it back before I put it in. Whew. That only took an hour to put together, it will be darn near impossible to disassemble. Or at least just very complex.
So the project is complete right? (minus the rewiring) Wrong. I've already repainted the front speaker covers (I'm going to replace the speakers Tuesday) and the little handle thingies in the door. I've already pulled off all of the little covers, thinking I might paint them. I've noticed a leak in the back too, somehow water was running down a wire that was behind one of the panels. So there's that too.
The car is an adventure and hopefully, it will take me on a few too.


No comments:
Post a Comment