

So my buddy Wes finally gave me the pictures from our big '06 project. Yup, the heater core. So without further ado.
Here is what we accomplished in an hour. It really didn't take that long but we had to clean out the other crap in my car before starting.
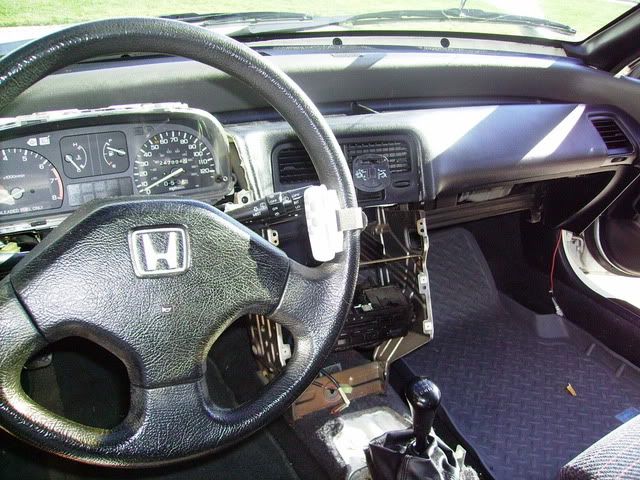
This is me and the dash. Yeah, I'm propping it up with my knees to make it look like that. The rumor was that taking out the dash is the hardest part of changing out a heater core. So when we got to this part in three hours we thought that we'd be done by dinner.
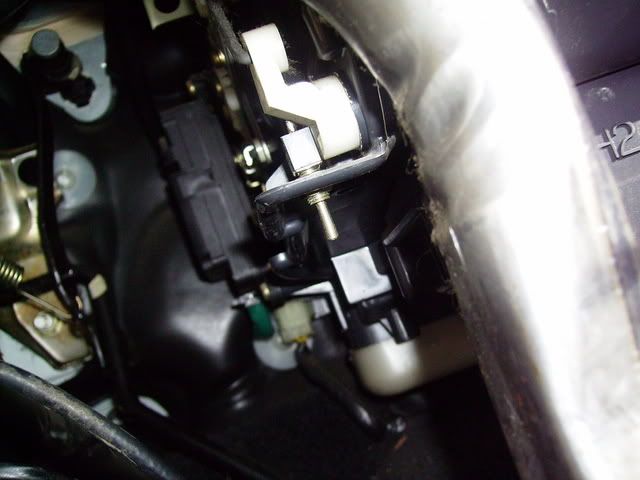
What you're looking at is a switch located on the driver's side, under the center console, and behind all the electronics. It's the alarm kill switch. Now what purpose do I have showing you this? Well, this is a story within a story I guess. In Februrary '06 Bill was helping me install my CB radio, powered directly from the car battery. Just as I told him to be careful because the car alarm would go off and it would be difficult to deactivate, he uncoupled the battery connectors and the alarm went off. Suffice the say the car alarm couldn't be deactivated and I couldn't drive it, so it cost me $200 to tow it from Greencastle to Indianapolis and another $20 to have some guy at H.H. Gregg to work on it for five minutes to fix this whole thing. There's more which I'll tell later.
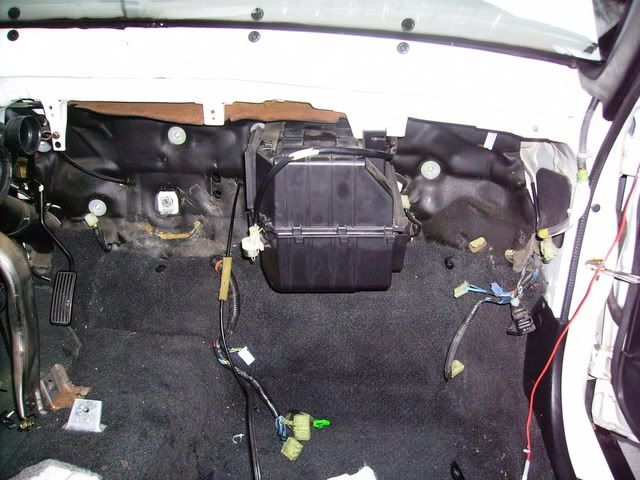
Behind the dash. When we realized that we'd have to replace the weatherstripping too. Oh well, not a bad deal. That thing on the left side, that's the heater core assembly. Only a few centimeters of plastic separated us from the heater core. Again, we thought that we'd be done in a few hours.

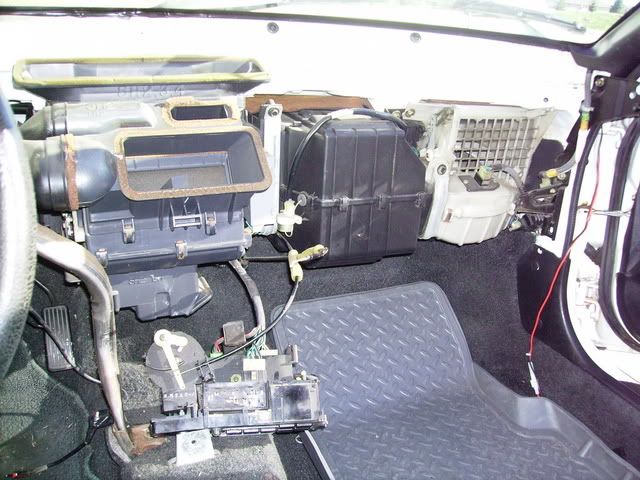
So with the dash disassembled, I began working in the engine compartment. The instructions said to drain radiator fluids and disconnect the hoses to the heater core. Yeah, they didn't anything about taking out the air filter and hoses, we also had to unbolt the fuel pump (not shown here) just to disconnect the hoses. By disconnect, I mean slice open and rip out.
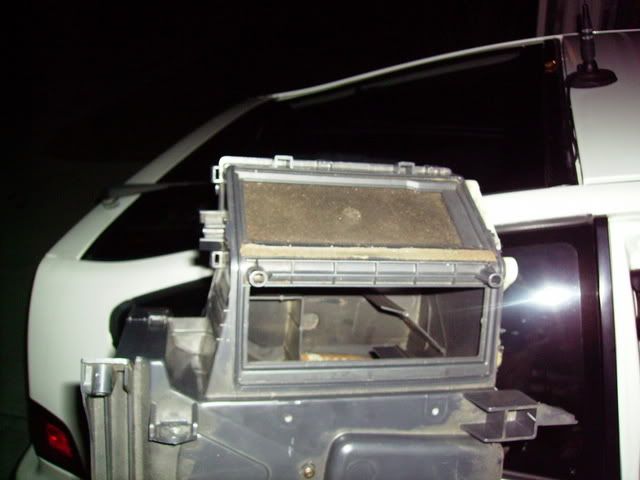
It's hard to tell from this photo but it's dark outside at this point. To get the heater core assembly out we also had to take out the fan assembly to give us some wiggle room against the AC unit to literally rip out the heater core. I'm not kidding. The copper pipes had fused with the insulation around them, and there was a bolt holding the whole unit in that you couldn't get to. I mean seriously, I don't know how you're supposed to get to it and we had it all taken apart looking at it. So it's about 10pm, I've only been working on the car for 12 hours and this was the result of those first 12 hours of work. We took some of the pieces inside. We needed to JB weld the broken pieces of the heater core case (from where we removed it from the bolt) and also, the fan was in need of a good cleaning.
That's the pain in the ass.
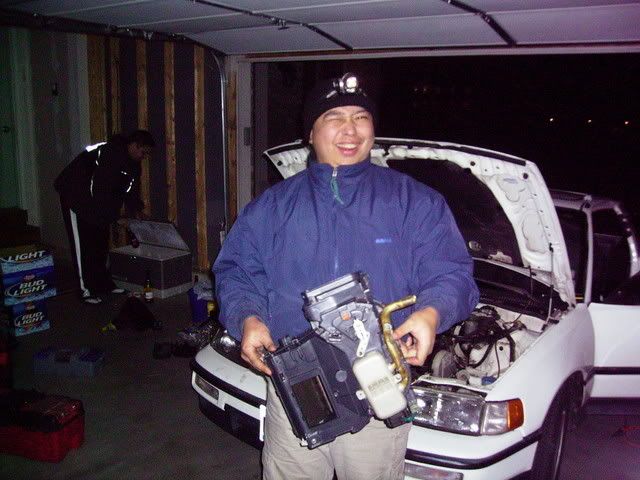
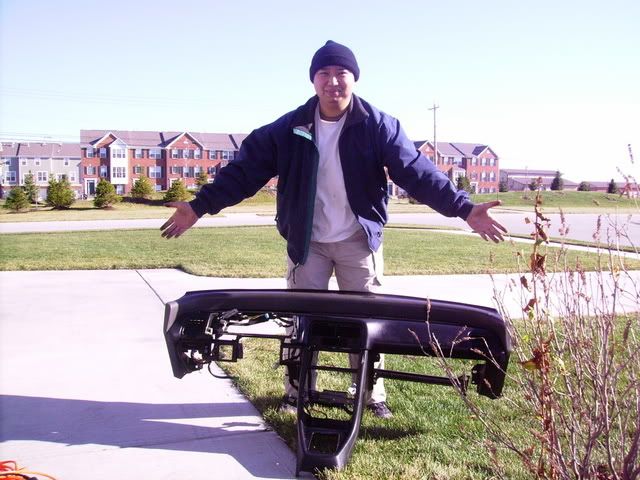
The proud owner. I'm on my way to disassemble the damn thing because the eight clips around it are deceiving, the vent controllers span both halves.
And of course we reassembled it, with parts to spare! That's not a good thing huh? Well, it was a good learning experience. Next up! The master brake cylinder! Only this time, we're going to do it when it's warmer and more daylight. Like this summer!


No comments:
Post a Comment